Showing posts with label donna hay. Show all posts

Sunday, February 2, 2014

Coconut and Red Velvet Truffles


This is mostly a Donna Hay recipe from the December  2013 Donna Hay Magazine, but I adapted it because I didn’t want my truffles to have alcohol in them.  If you do want them to have alcohol in them, simply substitute the cream cheese for ½ a cup of coconut flavoured liqueur.  These truffles were a huge success and they look beautiful too.  Great for a party, baby shower, afternoon tea, after dinner treat or just have them handy for when people pop by! 
I found that the trickiest part of this recipe  was coating the truffles in the chocolate so hopefully the detailed description I have included will help you with this!


What you need
150g unsalted butter, softened
¾ cup (165g) caster sugar
1 teaspoon vanilla extract
2 eggs
1¼ cups (185g) self-raising flour, sifted
¼ cup cocoa, sifted
½ cup buttermilk
2 tablespoons red food colouring
¼ cup (20g) desiccated coconut
225g cream cheese
300g white chocolate, chopped
3 teaspoons vegetable oil
2 cups shredded coconut

How to make them

Preheat oven to 160°C (325°F).  Place the butter, sugar and vanilla in the bowl of an electric mixer and beat for 8-10 minutes or until pale and creamy.  Scrape down the sides of the bowl to ensure all the mixture is combined. Add the eggs one at a time, beating well after each addition.


Add the flour, cocoa, buttermilk and food colouring and beat on low until just combined.  


Spoon the mixture into a lightly greased, lined cake tin.  I used a 26cm round tin but, if you have one, you can use a 20cm x 30cm tin.  Smooth the top of the cake with a palette knife.  


Bake for 40 – 45 minutes if until cooked when tested with a skewer.  Remove cake from oven and allow to cool in tin for 10 minutes before turning it out onto a cooling rack to cool completely.


Break the cake into pieces into either a food processor or the bowl of an electric mixer.  Add the desiccated coconut and cream cheese and combine.


Roll the mixture into balls that are the size of a walnut or larger if you wish.  I prefer to make them in bite-size rather than too big.
Place the balls on a lined baking try and put in the fridge for at least 30 minutes until they are set.


When the balls are set, prepare your chocolate.  Place the chocolate and oil in a heatproof bowl over a saucepan of simmering water.  Make sure the water is not touching the bottom of the bowl.  Stir until smooth.

This is the tricky part…  I started coating the truffles by trying to use two forks to dip and coat the truffles, I then tried spoons… In the end I decided that sticking a skewer into the truffle and then coating it chocolate was easier. 


Roll the chocolate-coated truffle in the shredded coconut while it is still on the skewer and then carefully remove the skewer, placing the truffle on a lined baking tray.
When all the truffles are coated and covered in coconut, place them in the fridge to set completely (at least for an hour, overnight is good too).


Serve and enjoy!


Tip:  Be careful when heating the chocolate that you don’t overheat it.  If you do, the chocolate will begin to become lumpy and once this has happened, you really need to start again.  For this reason, it is always good to have a spare quantity of chocolate at hand in case!

Sunday, January 5, 2014

RASPBERRY & VANILLA COCONUT ICE

I made this and gave it to friends for Christmas.  It was a pretty treat to make and share and although I have made coconut ice before, it made a real difference to the flavour adding the raspberries!  

It would be great for a party or baby shower too!  It is quite sweet so I would suggest cutting the pieces into bite size… see what you think though! 

Oh and this is a Donna Hay recipe, taken from the December 2013 edition of Donna Hay Magazine.


What you need

1.28kg icing sugar (I told you it was sweet!)
6 cups (480g) desiccated coconut
½ teaspoon of vanilla extract
1½ cups (460g) sweetened condensed milk (I recommend adding about ¼ cup extra to the vanilla mix so maybe have 1¾ cups at hand)
1 cup (140g) frozen raspberries, thawed
a few drops of red food colouring


How to make it

Lightly grease and/or line a slice tray with baking paper (20cm x 30cm x 3.5cm).


Place half of the sugar, half of the coconut and the vanilla in a large bowl.  Add 1¼ cups (I recommend adding 1½ cups) of the sweetened condensed milk and mix well to combine.  The mixture will be quite compact.  


Turn the mixture out onto a lightly floured surface (or you can turn it onto a piece of baking paper).  Knead until smooth.  Press evenly into the base of the prepared slice tray.


Place the remaining sugar and coconut in a large bowl.  Add the raspberries and food colouring and, using your fingers, rub the mixture until the raspberries are well combined.  Add the remaining sweetened condensed milk and mix to combine.  You will notice this raspberry mixture is quite a bit more sticky than the vanilla mixture.  Don’t worry though!


The recipe says to turn the mixture out onto a floured surface and knead until combined.  I just did this in the bowl as I was worried about the food colouring on the bench!  When combined, press the raspberry mixture into the slice tin on top of the vanilla mixture.  Smooth it out until it is evenly covering the vanilla layer.


Cover with glad wrap (cling film) and refrigerate for 3 – 4 hours or overnight.  


When you are ready to cut it, simply turn the slice out onto a bread board and cut it into squares.


Saturday, December 7, 2013

GINGERBREAD MEN

This is one of many festive posts I will publish over the next few weeks (mostly recipes I expect), with a very special post to come next week!

This recipe is from Donna Hay’s Christmas edition magazine (December 2013).  It is very easy and has a great flavour. I think this would be a fun one to make with children and you can use all sorts of cookie shapes.  Of course you can also have fun decorating the biscuits with icing and lollies. 

My end product was quite crunchy so if you prefer your gingerbread soft, perhaps roll the dough thicker.


What you need

125g unsalted butter, softened
½ cup brown sugar
2/3 cup golden syrup
2 ½ cups plain flour, sifted
2 tsp ground ginger (I like ginger so I ‘heaped’ these)
1 tsp bicarbonate soda


How to make it

Preheat oven to 160°

Place the butter and brown sugar in a bowl and mix with an electric mixer until pale and creamy.  This takes around 8mins or so.


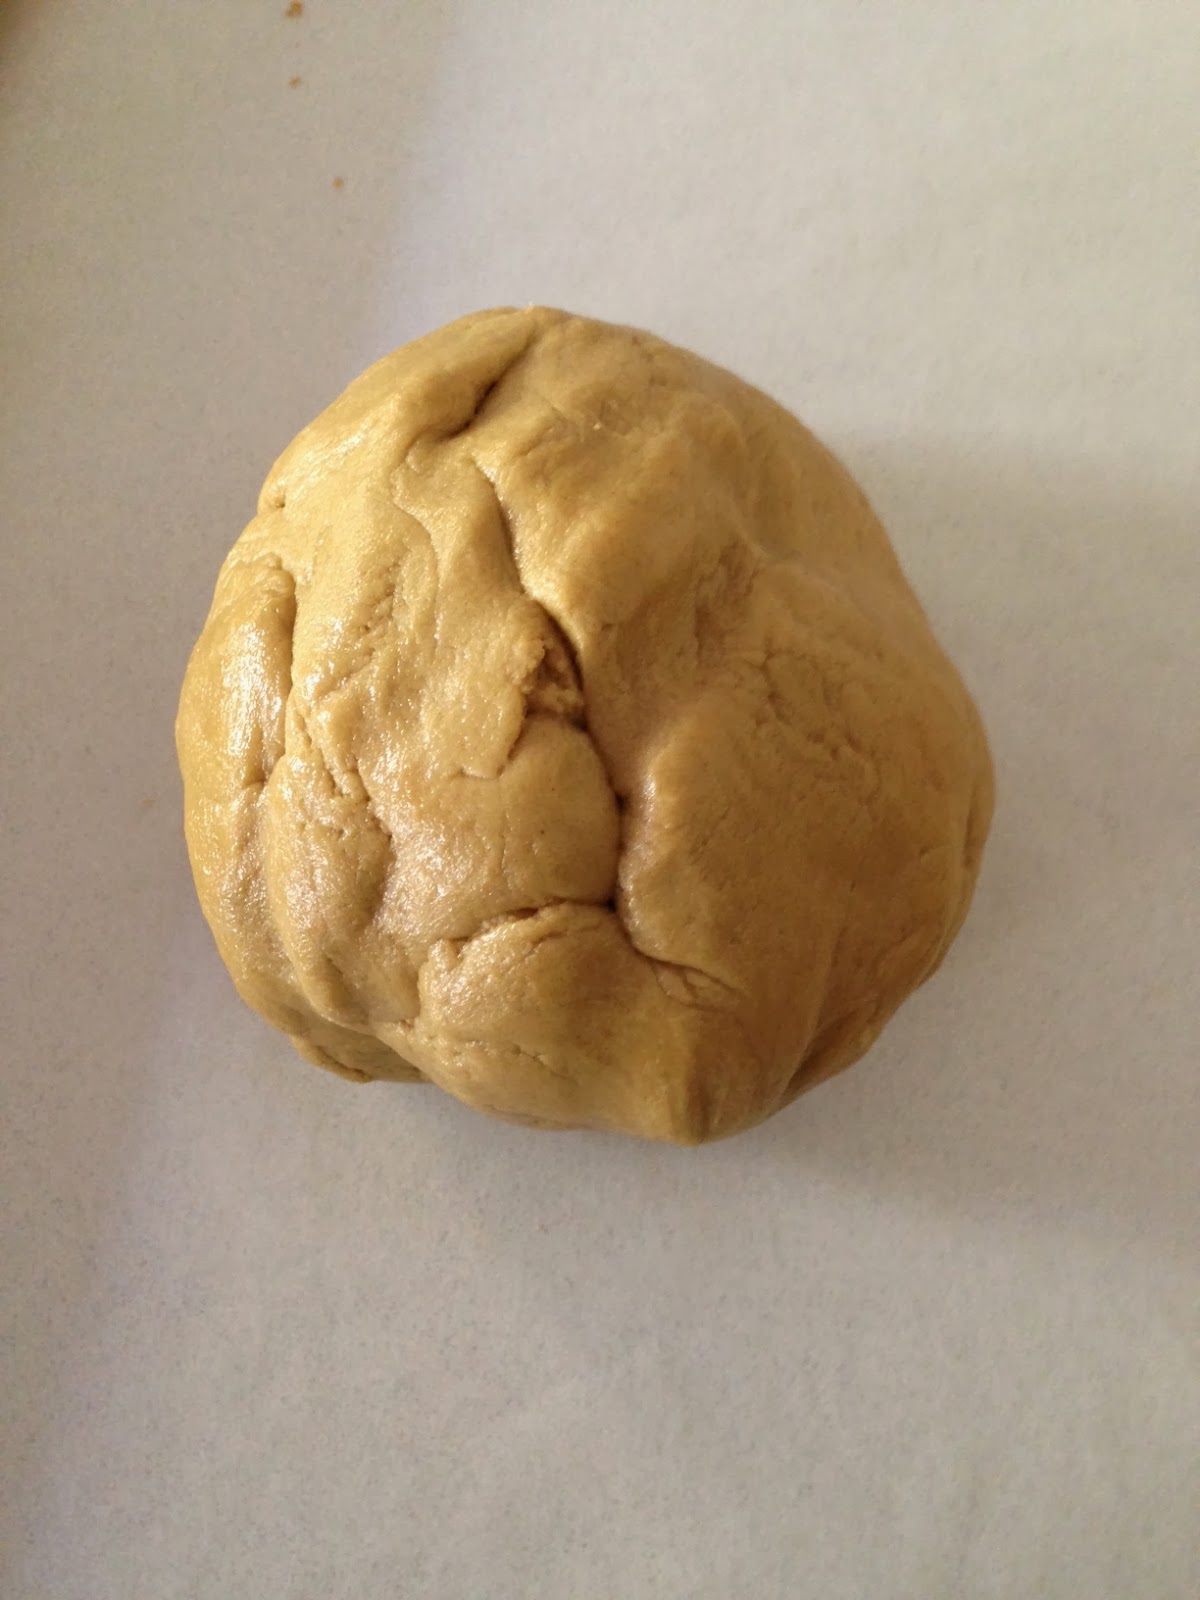
Add golden syrup, flour, ginger and bicarbonate of soda.  Beat together until the mixture just comes together to form a smooth dough.


Roll the dough out between 2 sheets of baking paper.  I would also give the paper a light dusting with flour before you role it out.  This will prevent the dough from sticking to the paper.  Roll out the dough to 4mm thick and place in the refrigerator for 30mins.


Remove the dough and take one of the sheets of paper off.  Using cookie cutters, cut out the gingerbread and place on a lined baking tray.


Continue to roll the dough out and cut the shapes until all the dough is used.  I needed to use a bit of plain flour to stop the dough from becoming too sticky.  Just dust the bench top /paper before you roll.


Cook the gingerbread until just browned.

Remove from oven and place on cooling rack.


Enjoy!


If using a small cookie cutter you should get about 30 – 40 small biscuits out of this recipe.