Sunday, December 15, 2013

Bûche de Noël (YULE LOG) Step-by-step!


This was a wonderful challenge, set for me by my sister-in-law for our early family Christmas lunch.

I was particularly proud of myself for putting this together so I am excited to share it!  I used a Nigella Lawson recipe for the cake itself and then looked around and experimented with other recipes for the meringue mushrooms, bark and pine cones.  In this post I will publish the cake recipe and bark, then, in a follow up post, I will publish the meringue mushroom recipe (otherwise it will be a super long post!).

This is a wonderful alternative (or addition) to the Christmas dessert and I think children would really love it too.  If you are going to embark on this challenge, I would recommend preparing it at least a day or two before you need it.  This recipe requires patience and a bit of time, but if you add these things to the list of “what you need” you will have a beautiful masterpiece at the end.

So, here we go…

What you need

cake
6 large eggs (separated)
150 grams caster sugar
50 grams cocoa powder
1 teaspoon vanilla extract
5 teaspoons icing sugar (to decorate)

icing
175 grams dark chocolate (chopped or at least broken into squares)
250 grams icing sugar
225 grams soft butter
1 tablespoon vanilla extract

bark

1 packet of melting chocolate (at least 300grams).  I used the chocolate melts, available at most supermarkets.  You can use any chocolate you like, but I would stick to something that isn’t overly high in cocoa content.  Also, it depends what colour you want your bark to be!

How to make it

Preheat the oven to 180°C.
In a large, clean bowl whisk the egg whites until thick and peaking, then, still whisking, sprinkle in 50g / ¼ cup of the caster sugar and continue whisking until the whites are holding their peaks.


In another bowl, whisk the egg yolks and the remaining caster sugar until the mixture is moussy, pale and thick – it will look like cake batter. Add the vanilla extract, sieve the cocoa powder over, then fold both in.


Add a couple of dollops of the egg whites to the yolk mixture, folding them in robustly. Then add the remaining whites in thirds, folding them in carefully to avoid losing the air.
Line a Swiss roll tin with baking parchment, leaving a generous overhang at the ends and sides, and folding the parchment into the corners to help the paper stay anchored.  I used a 34cm x 28cm Swiss roll tin.


Pour in the cake mixture and bake in the oven for 20 minutes. Let the cake cool a little before turning it out onto a generously dusted (with icing sugar) clean tea towel.  


Gently roll the cake up using the tea towel.  Leave the cake on a cooling rack to completely cool (for at least half an hour).  You can use this time to make the bark and icing.


To make the bark, melt the chocolate in a bowl that is resting over a saucepan (half filled) of simmering water.   When completely melted, pour the chocolate onto a large baking tray that is lined with baking paper.  Use a spatula to spread the chocolate out.  Don’t worry about making it completely smooth as the lines will be a great effect when you break it all up later.

Place in the fridge until completely set.
Break the chocolate into thick strips.  This is your bark!


To make the icing, melt the chocolate – either in a heatproof bowl resting over a pan of simmering water.  Once the chocolate is melted, set it aside to cool.
Sift the icing sugar into a bowl and add the softened butter.  Mix with an electric mixer until smooth.  


Add the cooled (it will still be warm), melted chocolate and the tablespoon of vanilla extract and mix again to make a smooth icing.


Now, back to the cake…
Gently unroll the cake and either place it on the tray you would like to serve it on or on a piece of baking paper. Spread some of the icing thinly over the sponge, going right out to the edges.


Start rolling the cake up from the long side facing you, taking care to get a tight roll from the beginning, and roll up to the other side. Pressing against the tray or platter, rather than the tender cake, makes this easier.  Don’t stress if the cake cracks a little as you are about to completely cover it in icing!


Cut one or both ends slightly at a gentle angle, reserving the remnants.  If you need to, this is where you should transfer the cake onto the plate you wish to serve it on (I just rolled it up on mine). Use the pieces you have trimmed off to create branch off-shoots and place these where you want them.
Spread the cake with the remaining icing.  I covered one end of the cake, but left the branches and one end without icing.  If you are not using the chocolate bark you can create a wood-like texture in the icing by marking along the length of the log with a skewer.


If you are not using the chocolate bark, you can simply serve the cake as it is or dust it with icing sugar using a tea strainer or other small sieve.
I actually placed the iced cake in the fridge overnight and decorated it with the bark the next day.  I presume if you had the bark pre-prepared and it was completely set, you could decorate it straight away.


To do so, simply place the bark on the iced cake, arranging it roughly and breaking as you need to.  Then, when you are about to serve the cake, sprinkle with icing sugar.


TIPS:

Preparing beforehand?  I would definitely recommend preparing the bark a day or so before you make and assemble the cake.  And I would also recommend making the cake the night before you need it (but you could absolutely make it on the same day for an evening dessert if you have the time).

How long will I need?  Allow at least three hours to make and assemble this cake (this is not including time for meringue mushrooms).

The pinecones?  If you like the look of the pinecones, these are simply 50cent-size balls of marzipan with sliced almonds stuck into them.  Edible yes, but probably really just decorations… Be generous with the icing sugar sprinkling on these too.

Oh, and it is much easier to cut this cake if you take off the bark first.

Have fun with this one!


Saturday, December 7, 2013

GINGERBREAD MEN

This is one of many festive posts I will publish over the next few weeks (mostly recipes I expect), with a very special post to come next week!

This recipe is from Donna Hay’s Christmas edition magazine (December 2013).  It is very easy and has a great flavour. I think this would be a fun one to make with children and you can use all sorts of cookie shapes.  Of course you can also have fun decorating the biscuits with icing and lollies. 

My end product was quite crunchy so if you prefer your gingerbread soft, perhaps roll the dough thicker.


What you need

125g unsalted butter, softened
½ cup brown sugar
2/3 cup golden syrup
2 ½ cups plain flour, sifted
2 tsp ground ginger (I like ginger so I ‘heaped’ these)
1 tsp bicarbonate soda


How to make it

Preheat oven to 160°

Place the butter and brown sugar in a bowl and mix with an electric mixer until pale and creamy.  This takes around 8mins or so.


Add golden syrup, flour, ginger and bicarbonate of soda.  Beat together until the mixture just comes together to form a smooth dough.


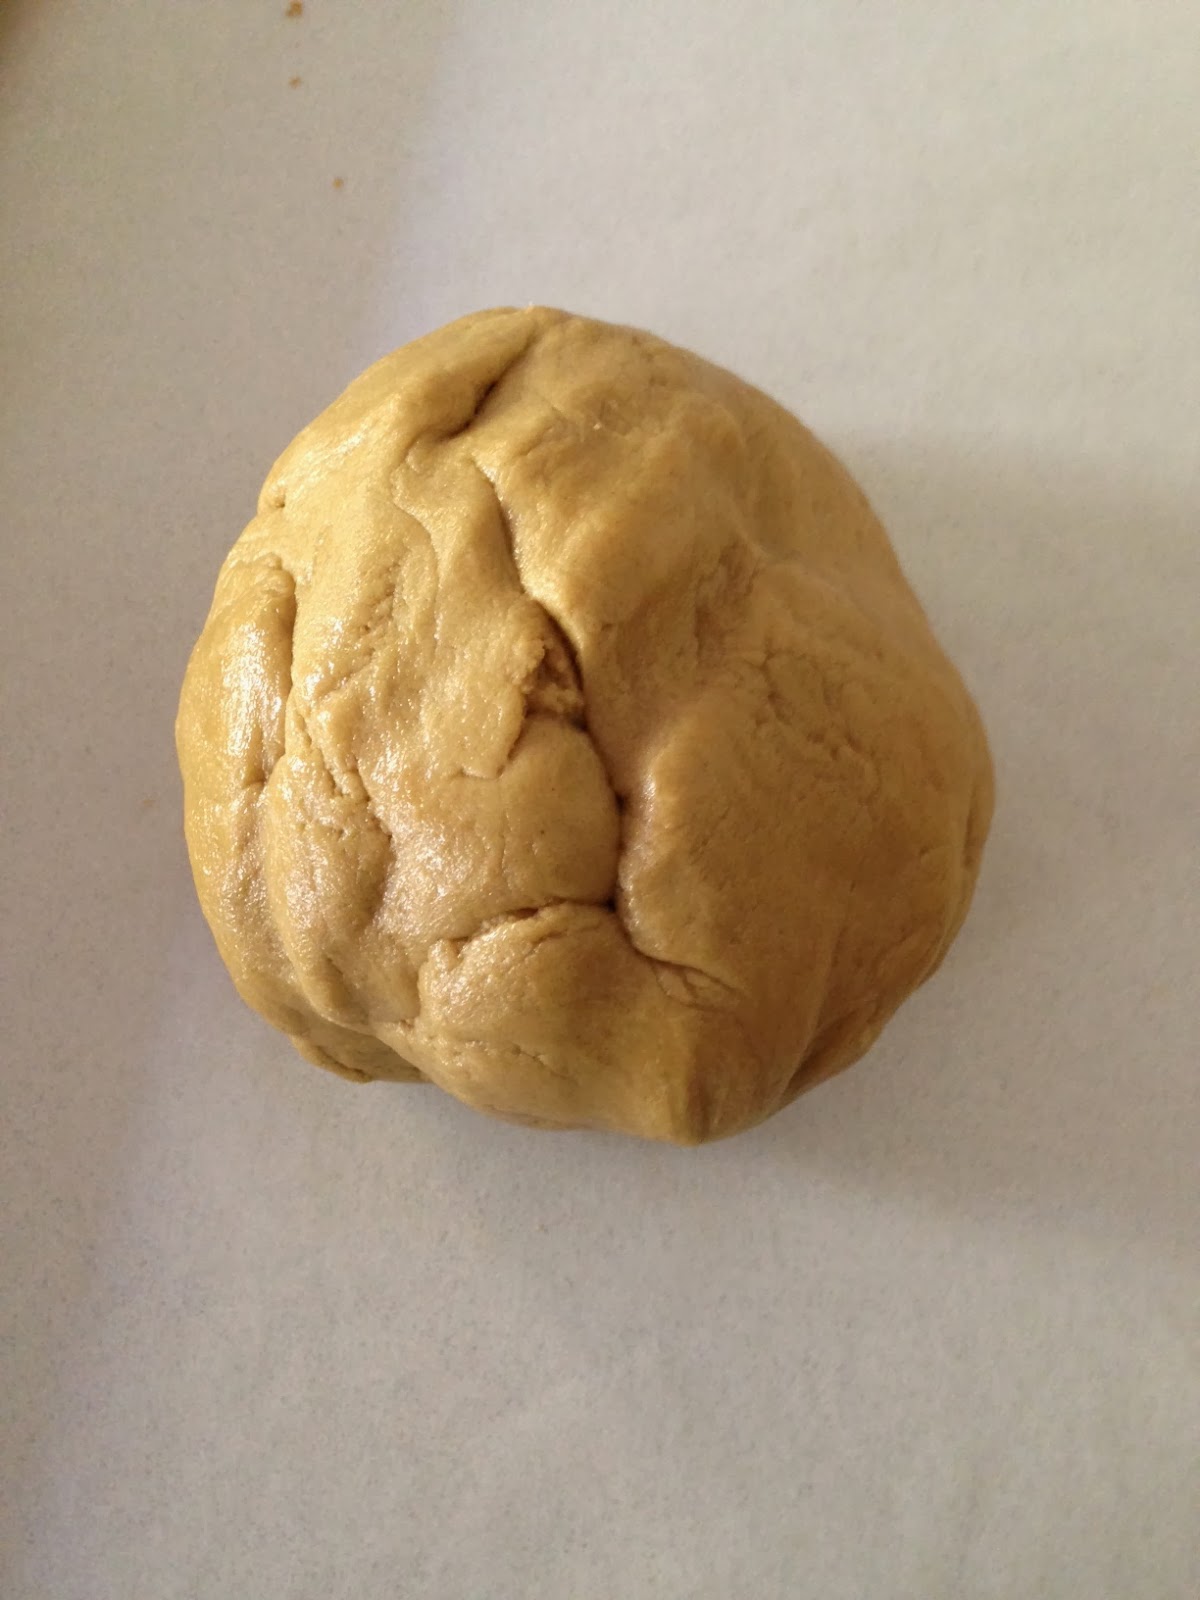
Roll the dough out between 2 sheets of baking paper.  I would also give the paper a light dusting with flour before you role it out.  This will prevent the dough from sticking to the paper.  Roll out the dough to 4mm thick and place in the refrigerator for 30mins.


Remove the dough and take one of the sheets of paper off.  Using cookie cutters, cut out the gingerbread and place on a lined baking tray.


Continue to roll the dough out and cut the shapes until all the dough is used.  I needed to use a bit of plain flour to stop the dough from becoming too sticky.  Just dust the bench top /paper before you roll.


Cook the gingerbread until just browned.

Remove from oven and place on cooling rack.


Enjoy!


If using a small cookie cutter you should get about 30 – 40 small biscuits out of this recipe.


Sunday, December 1, 2013

LEMON AND COCONUT CAKE


I tasted this cake at a friend’s morning tea earlier in the year and I recently got my hands on the recipe. I am not sure where the recipe came from, but it is a delicious cake and I think it is a perfect option for summer!  It is easy to prepare and looks great.


What you need

CAKE
225g butter, softened
1 ¼ cups caster sugar
3 eggs
2 tsp finely grated lemon zest
2 cups self-raising flour, sifted
½ cup desiccated coconut
½ cup milk
2 tsp lemon juice

ICING
250g cream cheese
1 cup icing sugar
1 tsp coconut essence
125g coconut chips or shredded coconut (for dusting)

How to make it

Grease and line a 20cm cake tin.

Pre-heat oven to 175°.

Beat sugar and butter with electric mixer until pale and creamy.


Add the eggs one at a time beating well after each addition and stir in the lemon zest.


Add the flour and desiccated coconut and fold in along with the milk and lemon juice.


Spoon the cake mixture in the prepared cake tin.


Bake for 45 mins or until cooked when tested with a skewer.

 
Leave the cake to cool for 5 mins before turning out onto cooling rack


To make the icing, beat the cream cheese with the icing sugar until creamy and pale.  Then stir in the coconut essence.


To decorate the cake, spread the icing evenly over the cake and sprinkle with the shredded coconut or coconut chips – whatever you have/prefer.

Enjoy!